This article shows how to replace the digital timer box, mechanical timer and upgraded grow lights. It also includes a video and text demonstrations.
New Lights & Timer
Based on customer feedback and refined testing at our facility we have decided to upgrade the output of our EVE lights. This means that we also have changed the timer setup. In this article we will demonstrate how to replace the digital timer box from the previous version, the upgraded mechanical timer and upgraded growing lights.
We wanted to optimize the growing experience over the reading experience for you. If you have any questions, comments, or concerns on any part of your growing experience please reach out to us at: support@justvertical.com.
Cheers to happy growing and a better food future.
Love from the Just Vertical team.
Video demonstration:
Text demonstration:
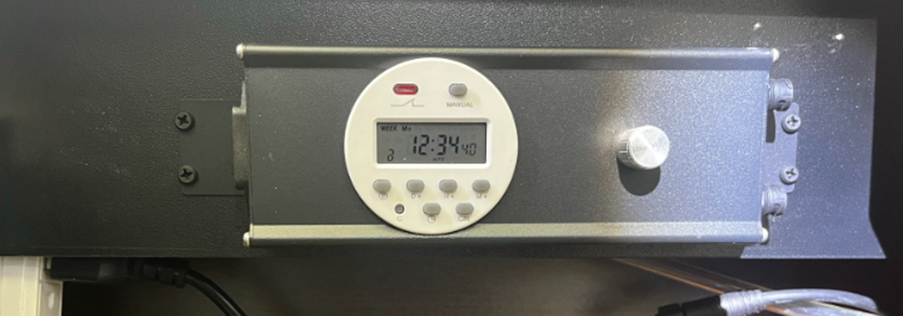
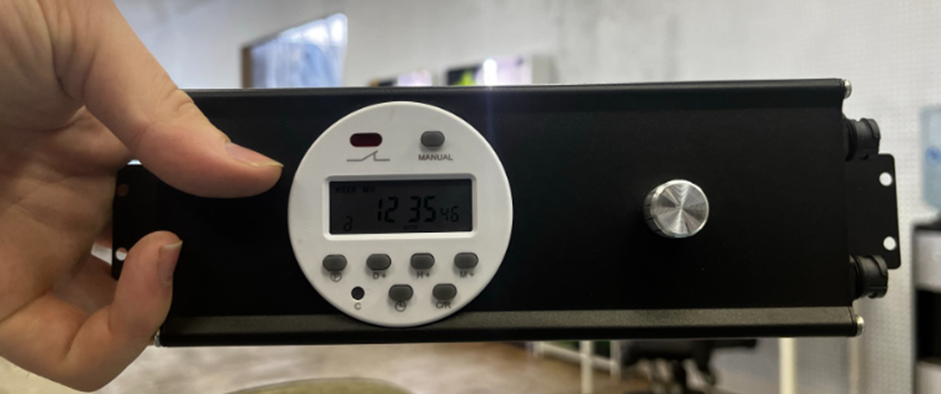
How to Replace your Digital Timer Box
1. Unplug your existing lights from your timer box
3. Remove the 4 screws holding your timer box in
4. Dispose of the old timer box, this will be replaced by the new pin timer
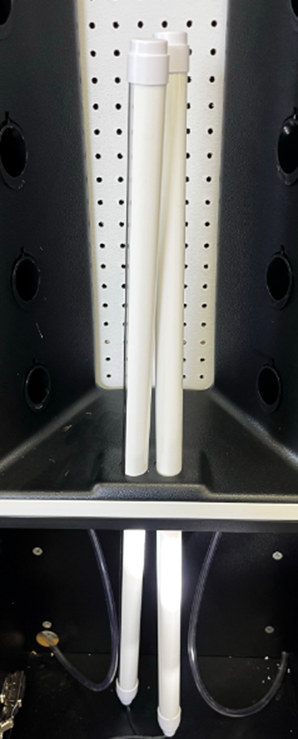
How to Replace your Grow Lights
1. Remove the 2 screws holding your current light holder in. This is located on the top of the inside of your cabinet
2. Once removed the lights will fall through
3. Dispose of your old lights these are replaced by your upgraded lights. They should slide easily out through the top of the unit
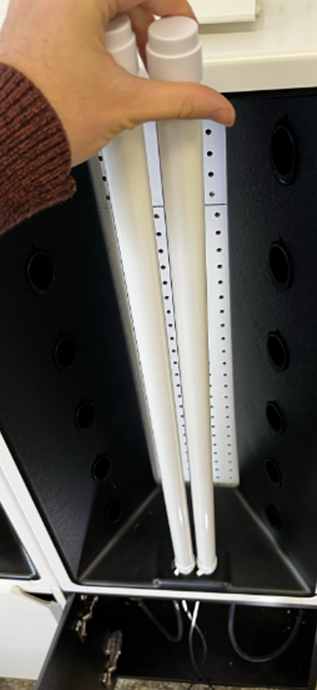
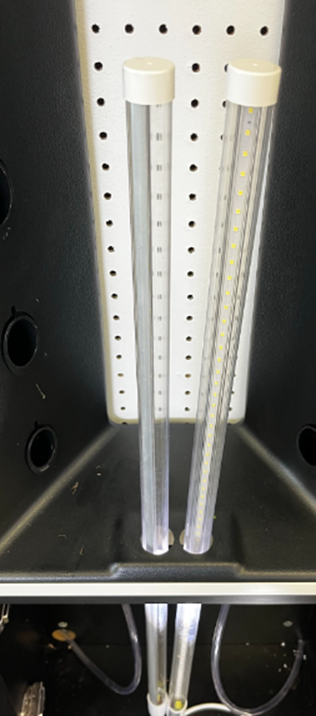
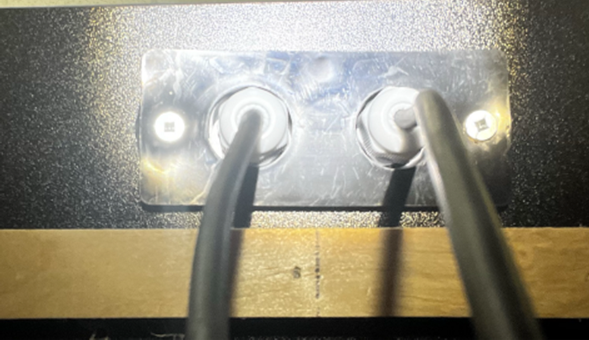
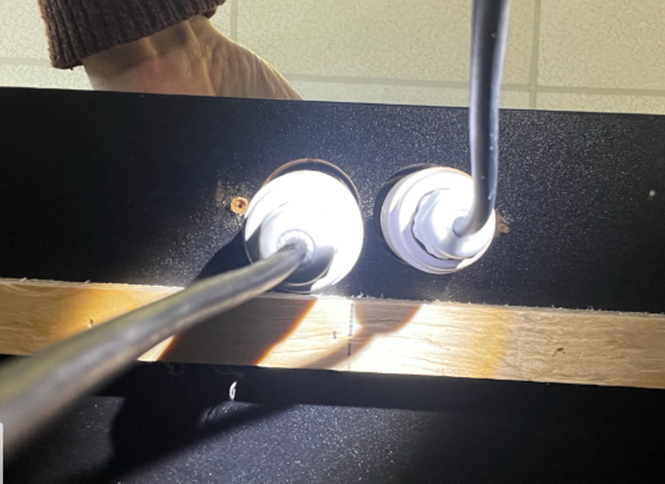
4. Put in your new upgraded lights feeding the cords through the bottom
5. Re-attach the light holder piece
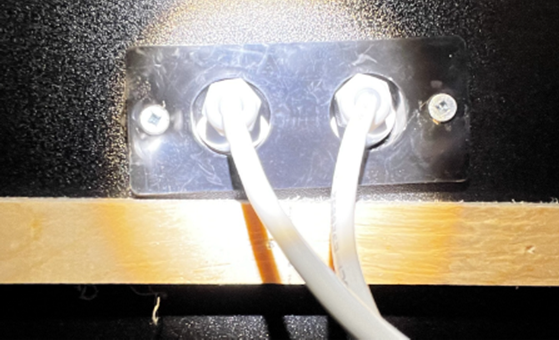
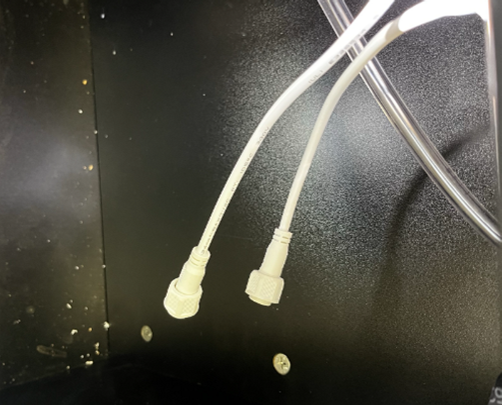
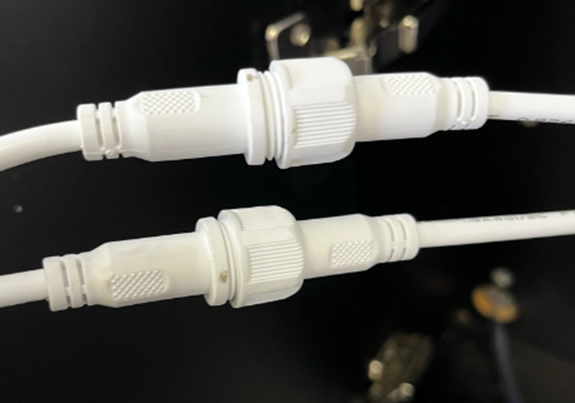
6. Attach the base of the cords
7. Follow instructions below on setting your timer and you are good to grow!
You almost never need to replace the mechanical timer. If you want to replace one, you can purchase a new one to replace the old one. All that needed to do after replacing is to setting it up again.
Setting your Mechanical Timer
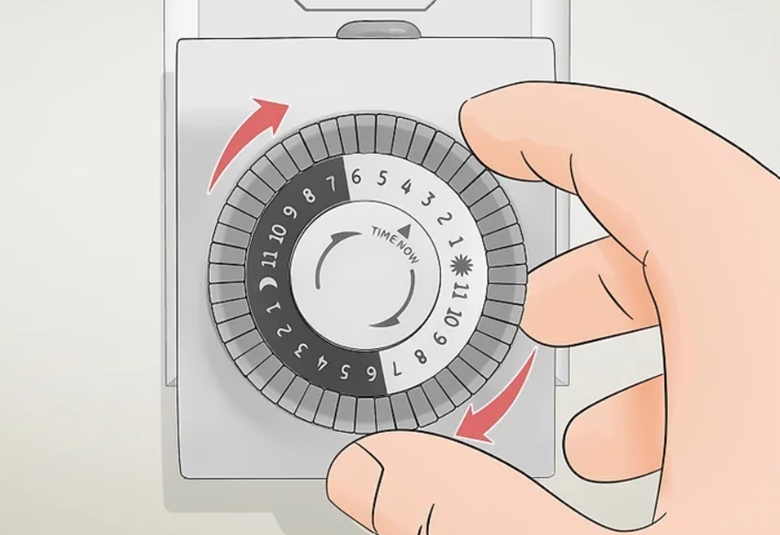
Turn the timer’s dial to the current time. Look for the arrow on the front of the dial on your mechanical timer. Then, rotate the dial clockwise until the arrow points at the current time. The timer is broken down into 30-minute intervals, so it’s okay if the time isn’t precise down to the minute as long as the arrow is generally near the right time.
- It might be easier to set your timer on the hour so you can point the arrow directly at one of the numbers.
- The timers have light and dark markings over the numbers to distinguish between AM and PM hours.
2. Setting the Light Cycle
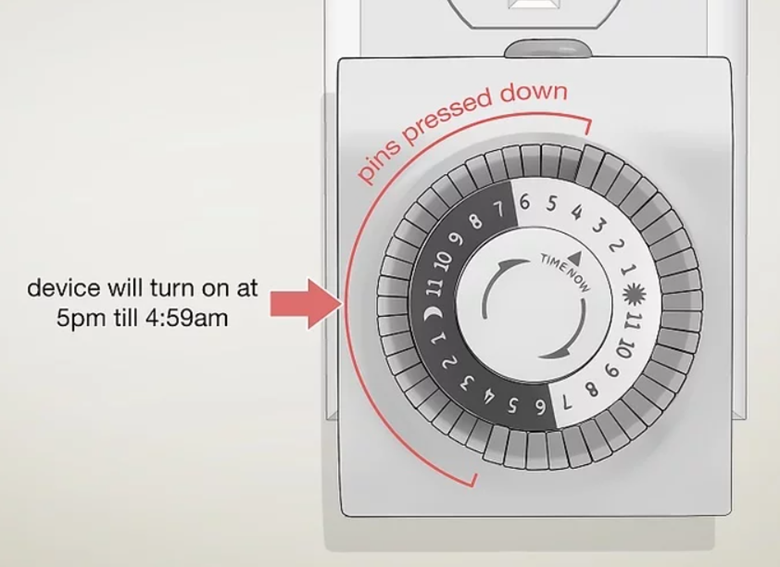
Push the timer pins in for the times you want the timer turned on. The small gray buttons around the outside of the dial are the timer pins. Start with all the pins pulled out as far as they can go. Find the times on the dial when you want your lights to turn on, and push down all of the pins within that range. Keep the pins pulled out for when you want your devices to power down.
- There are 2 pins for every hour on the dial, then each pin represents 30 minutes.
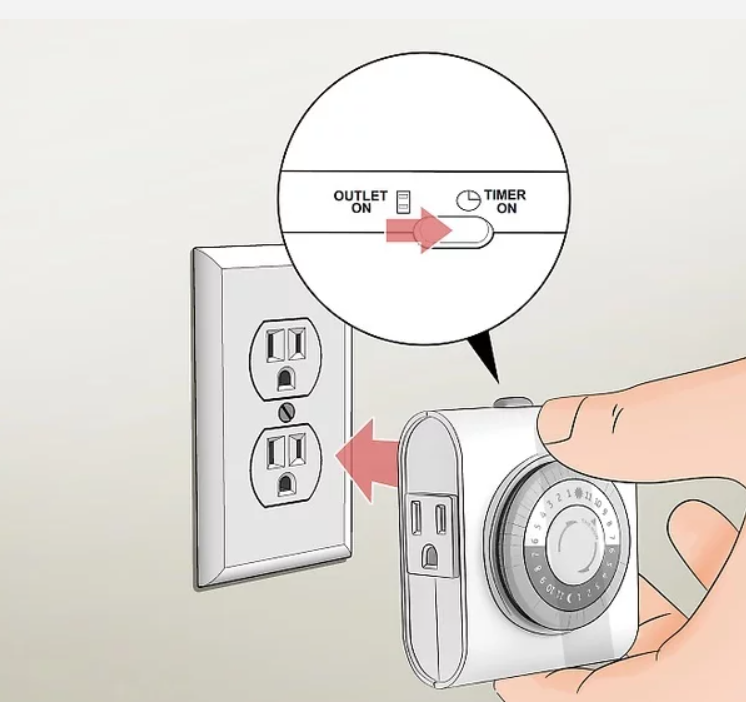
Flip the manual switch button to the "Timer” setting. Check the top of your outlet timer for a gray switch. If the switch is in the “I” position, move it to the setting labeled “Timer” instead. That way, anything you plug into the timer will turn on during the intervals you set.
- You can always manually override the timer intervals by changing the switch to “On.” If you don’t want to keep your devices turned off even while the timer is running, then use the “Off” setting.